BLOGGER TEMPLATES AND TWITTER BACKGROUNDS »

Thursday, September 29, 2011

Making Hooves

While working at the renaissance faire, I came upon a conundrum -- the shoes I'd found that were hilarious furry boots were also brutally wrong for wearing anywhere ever and they tore my feet up until I almost couldn't walk. So I thought about it for a while, and wondered "could I make my own furry boots?" First I was just going to go with the boring standby of "wrap fur around shin, boot complete." But then I got more curious about making my own foot-hooves. Turns out there's not a whole lot of tutorials for "making a plain hoove for your foot so you don't have to walk on an expensive metal contraption or the dangerous tip-toe-on-platforms thing." So I'm making my own.

And thus I present:

How to Make Fake Hooves
(Because I'm cheap, most of my props tend to be made on the inexpensive side, which really works well for those who don't have $500 to make a pair of fake hooves.)


Supplies:
  • Duct tape ($3)
  • Floral wire ($2)
  • Plaster wrap ($10)
  • Fiberglassing resin ($10)
  • Fiberglass cloth ($5)
  • Brown acrylic paint ($2)
  • Sneakers ($10) 
  • 1/2yd Faux Fur ($5)
Total Cost: $47

Step One
Bend the floral wire into the rough shape of a hoove. The lengths will depend on the shoe and your personal preference, you want to be sure it fits snugly against the front of the shoe and looks proportional to your size. Play with the sizes until you like it. Once you're confident, clip another set and match the length and bend. You're going to want to immediately repeat anything you do on the first hoof with the second to keep them as similar as possible.

Step Two
Duct tape the wire. Leave roughly an inch in between each wire so that the hoove goes up over the top of your shoe and then goes down the front. Again this is mostly personal preference. Be sure you duct tape the whole thing, this will give you the shape you'll see in the end.
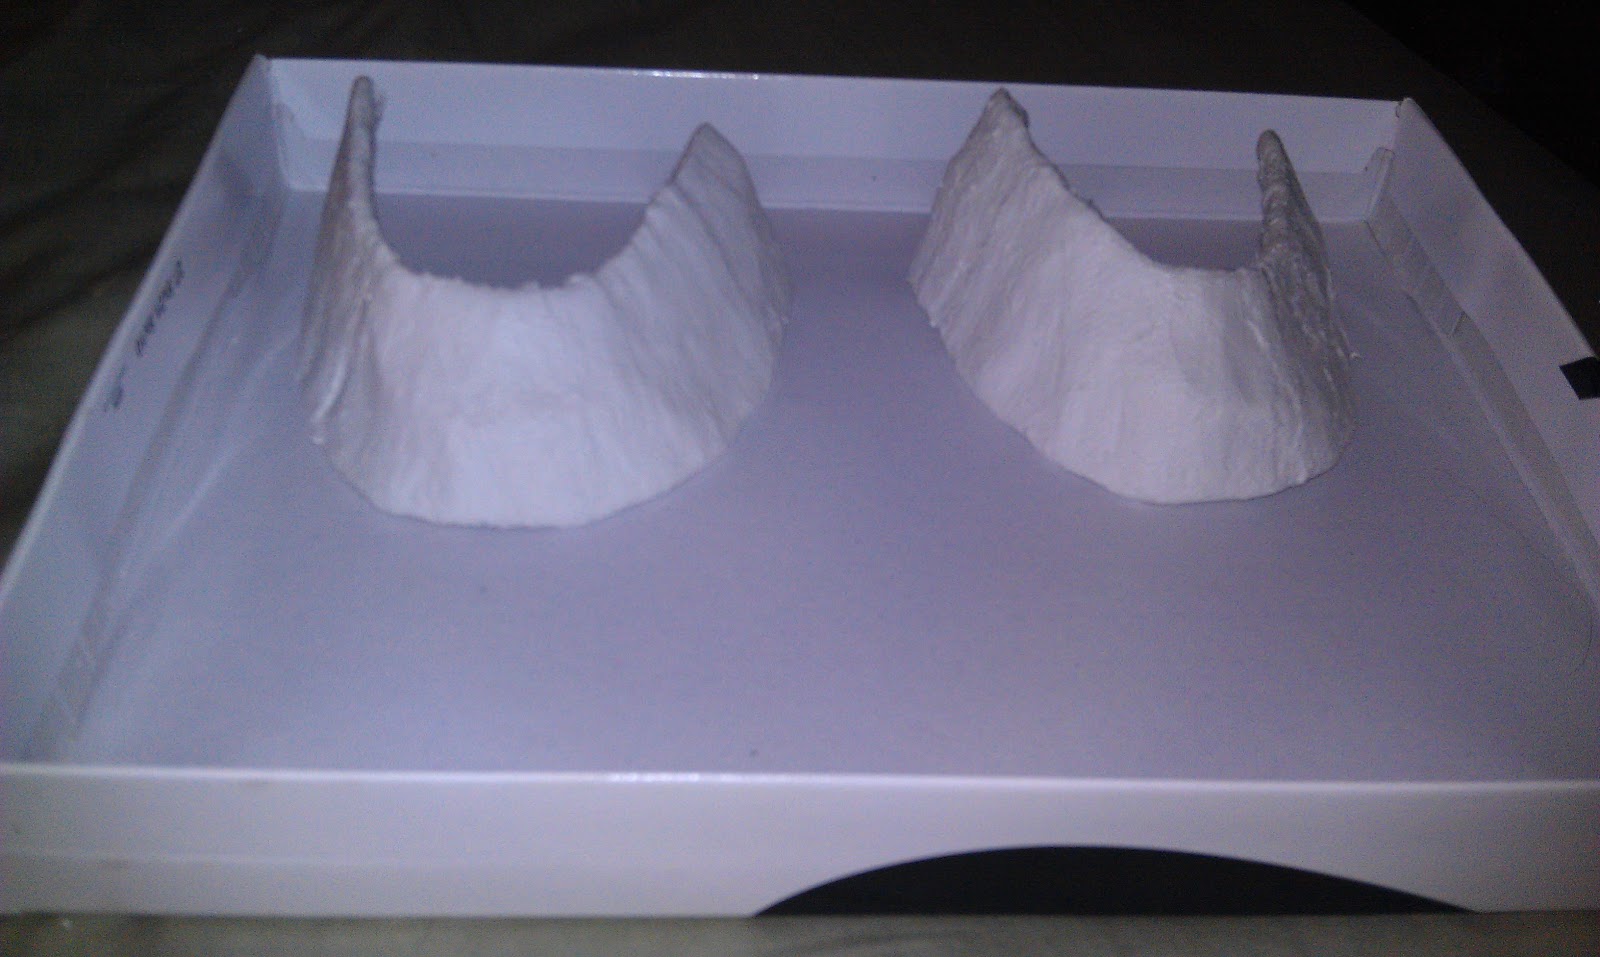
Step Three
Plaster wrap over the duct tape. Use your fingers to smooth the lines out and the little divets in the plaster wrap, you want it to be as smooth as possible. Allow to dry completely (if you put it in front of a fan it will only take maybe 20-30min), and then do it again. Repeat a third time if you want, but I didn't.


Step Four
This part is going to be best to do outside, with a pair of disposable gloves and maybe some safety glasses. The gloves for sure. Cut strips of fiberglass long enough that you can wrap each strip around the front and they touch in the back. Then mix the resin and apply LIBERALLY all over each strip while attaching it. That's the key to not strangling yourself with frustration, the resin must be used liberally -- it isn't too expensive, don't skimp. Once you've slathered each piece set them out to dry. I tend to rest them on a paper plate with the bottom side down, if the plate tears and leaves bits they won't be seen.

Step Five
Once you've given your fiberglass a few hours to cure -- preferably overnight -- you are ready to paint. This part is simple. Take a paint brush, load it with brown paint (adjusted as you will, I think I added a bit of black to mine because it was too light), and then paint in rough, quick, downward strokes to acquire that strange mottled pattern. You can adjust that as much as you want, weather it with some black, or add some white lines, it's all up to your creativity.


Step Six
Seal those suckers with a couple of layers of whatever sealing type thing you have laying around.


Step Seven
Glue the white fur to the shoes, leaving the toes unglued. Once it's attached to the shoes you can put a thread of glue along the top of the hooves and glue the white fur to that so it gives the illusion of a full Clydesdale-esque hoove. Be sure no part of the shoe is showing. I tend to use black shoes, it hides the fact that it's a shoe better if anyone does see anything.

Step Eight
Glue the hoof itself to the shoe. I tried about six different glues when I did this and I found the best for me was e6000, you can try whatever you want just make sure you use a significant amount. The shoe moves as you walk and it can break the bond. Avoid hot glue. It's worthless. Also be sure you put the hoof high enough on the shoe that it doesn't touch the ground. That will just destroy it. These things are strong, not invincible.

Step Nine
Go be awesome. I'd love to see photos of your completed hooves! For the record mine were meant for a unicorn costume, and when I realized I had forgotten to make them cloven I decided I simply didn't care that much. They were a big hit and once I got them right they lasted about 4 or 5 weeks of 16 hour weekends of wear being beaten to hell in the 100 degree Colorado Renaissance temperatures. If you find yourself left with questions, or you need more photos (I tend to be a photo person and didn't take as many as I should have, I can easily make a "spare" hoof and show you the entire process) let me know.

Tuesday, September 20, 2011

Upcoming

Just so you all know I'm still alive I'm popping in to let you know about upcoming blog postings:
1. How to make hooves, based on my unicorn costume
2. A multipart how to on Ashlotte from Soul Calibur IV including the armor, the metal dress, headpiece, weapon, wig, and hoops. It's going to be long and huge, I have almost two hundred photos to share.

3. That hot glue armor tutorial for Zelda I keep promising. I managed to break the armor, so if I have to redo it do I might as well take photos too.

Then, maybe a con report for Dragon*con, if I get ambitious.

Published with Blogger-droid v1.7.4

Thursday, April 14, 2011

Wigs and Unicorns

Most of the things I put here are replicas of costumes worn in movies/shows/comics/whatever. So this costume is a huge deviation from my usual. I don't even have an original concept sketch to show off. I sort of just made it up as I went along. Which, ironically, went very well for me.

I work at the Colorado Rennaissance Faire. Last year I was this:

And if I have ANY say in it this year I will never, ever, touch that costume again. I did not make any part of it and it was freaking horrible to wear. About 110*F on any given day, made my neck ache to the point where I could barely move my head, almost no visibility...the list of complaints goes on.

Anyhow.

This year I decided I'd really like to present something that would allow me to actually interact with people. Speak to them, make facial expressions, have fingers. So, I came up with the notion of a human version of a unicorn. A cursed unicorn who's been thrown into the human world, unable to figure out exactly how all the rules work. I'm sort of psyched to try it out.

So, at the Scarborough Rennaissance Faire in Waxahachie, Texas -- in between four tornadoes -- I debuted a costume of my own design.

It consists of two underskirts that have elastic tops, and the full overdress that laces up the back and has some decorative lacing down the sides. The sleeves are rather like Yuna's sleeves in that they hold on to my upper arms and lace closed. They also drape wonderfully. The corset I started making; my friend Kitty (who is a freakin' badass costumer, I'm sure I'll have some photos up here of her eventually) is much better than I and she helped me start it - I helped cut it, sewed the first stitches and did pressing, and then had to leave for the night to make it to work. I wound up running out of time so she was kind enough to finish it for me and it's WONDERFUL.

So, the Unicorn Ariella:

You may notice there's a wig:


Which is really the focus of this entry. (Other than LOOK WHAT I CAN DO!!!).

The photo above is the wig just after I purchased and styled it. Speaking of; the wig came in top notch condition. Smooth as silk, beautiful, exactly as advertised, a week before I expected it. So, lhjun2010 on ebay, here's some advertising for you.

Now here's the problem with wigs: when you wear them loose, and they're long (this wig falls to about my hips) ... they tend to tangle like freaking hell. It's ridiculous. It sort of makes me blindingly angry.

After two days in the sun and running about in Waxahachie, the wig looked more like this:

I don't know if you've ever tried to brush a snarl out of a wig (I don't own a wig brush, by the way, I use a plain wide-toothed comb) but it's friggin impossible. I made a tangle into a snarl into a rats nest into a hot mess. All of that fuzziness in the middle of the wig is fist sized tangles.

I tried to quickly run a brush through before day two of faire and it was like shooting marshmellows at a boulder. So I gave up, wore it for day two, and felt disgusting since my wig was so awful.

I did, however, manage to fix it.

I went to Walmart after reading Internet recommendations and checked the Ethnic hair care section. I was thrilled to find the exact thing people have suggested: Motions Oil Sheen & Conditioning Spray.

This stuff is amazing. It's slick, but it doesn't leave a horrible oily residue (I haven't washed my hands since using it and I'm not feeling sticky or greasy). It smells like strawberries, sort of a sugary scent, very unexpectedly pleasant.

For reference:

The problem?

This stuff does not work on the matted mess that my wig was. It was absolutely useless on the bad tangles, actually.

So my solution?

Bathtub!

I used most of a travel bottle of conditioner on the wig, filled the tub with warm water (not hot, not cold. Hot would change the shape of the wig, cold would just suck), and put the wig in. I laid it in the water flat and then tugged it around a bit to get what hair would naturally go straight to do it. Then I let it rest for ten minutes.

After ten minutes I started gently combing, starting at the bottom and working up 1/2"-1" at a time. When I started to get frustrated with the tangles I just walked away for 5min and then came back and tried again. It took about 30-45min before I was satisfied that I'd done what I could. So I pulled the wig up and rinsed it with the shower head on cold to get all of the conditioner out.

Then I took it back to my room and towel dried it a bit (squeezing using a towel, no rubbing), and put it back on the wig head.

After letting it rest for an hour I began gently combing it out. Once I had done a first pass (mostly on the bottom) I started spraying the Sheen and working tiny bits of fiber at a time to slowly (VERY SLOWLY OH MY GOD SLOWLY) work it out.

For the next 3-4hrs I was literally just combing, combing, combing. Around the time I wanted to throw the wig out it started to give. I could see the snarls going out. It was a relief.

So, almost five hours of hair pulling (har har) later: the final result is above. It's a relief. It looks strange because it's still wet and I just sprayed it down.

Speaking of, here's how the sheen rests on the fibers:


So, there's how to unmat a wig after a weekend at a renaissance faire.

-M

Friday, September 10, 2010

Dragon*con 2010

I have to write a blog post for my armor since I happen to think it was pretty cool. I was challenged by Mrs. Volpin Props to make all of my armor out of hot glue -- and I did. All of the golden armor and the blue and red jewels are hot glue cast.

I only have time to briefly say Dragon*con was super awesome, and here I am running around the con in costume.


Princess Zelda 100% completed and donned. This was actually the first time I put the whole costume on at the same time. The angle is dorky but when I switched it to upright it looked ridiculous so I like the funky tilt. I'll have some great pro shots from Bryan Humphrey and Eurobeat King up later.


Sophitia Alexandra, completed and donned -- and hanging out with my "sister" Cassandra whose costume puts mine to shame...but she (and her husband, Volpin) spent much more time on it than I did so nyah. Ironically it wasn't until last night that I realized I'd completely forgotten to tie the shoulder thing on the left side. I put it on the right side. Minor detail to the world but I'm kicking myself. Especially since there are photos on the 'net of me wearing this costume and some of them are from behind. GRRRR IMPERFECTION.


So there we have it, my two projects for 2010. I've officially decided to make Ashlotte for next year, and if she ends up being the only costume I make I think I can live with it. I want perfection -- and I ended up switching back and forth between Sophitia and Zelda like mad anyway. Might be easier to just have one epic costume over two semi-epic costumes.

Thursday, August 26, 2010

Zelda: Twilight Princess -- Progress

The panel for my Zelda V3.0 gown was absurdly difficult to put together. This is because I'm A - Insane, B - A Perfectionist ... so I decided after lazily painting V1.0 and V2.0 I was going to do something extravagant with V3.0

So I did.
By which I mean I hand-embroidered the entire thing.

Cost: ~$30 for fabric, embroidery needles, paint, and all of the threads
Time: ~70hrs
First, I took blue satin and sewed it into the shape of the panel.Then, satin-stitched around the edge for about six million hours, and fifteen minutes. It took forever because everything had to be so tightly pressed together.


Continued with my method -- sketch the pattern with disappearing ink, and satin stitch over it.
Can't seem to find the rest of the in-between photos...but here is the finale. I used some gold jacquard beads to make the yellow triforce nice and shiny. Off-white thread for the rest of it except the deep purple, and then forest green paint for the ...er, green part.
A comparison between Zelda panel V1.0, V2.0 and Zelda Panel V3.0...as you can see I got better. It actually cost quite a bit more to do V1.0 and V2.0 than V3.0 (acrylic paint = more expensive than embroidery thread), but I spent a fraction of the time on V1.0 and V2.0.


The bodice for Zelda 3.0 was fairly simple to sew up...and took around quite some time to embroider since it was the first thing I did and I'd never actually embroidered before. There are some obvious mistakes that will eventually be repaired.

Cost: ~$24 for fabric and thread
Time: ~20hrs


Thus, it begins...

Close-up

The front, all spiffified.

The back -- I decided to sew the back up so it's a bit of a squeeze to get on but it fits like a glove which is something I have a hard time achieving. Usually things are a bit too large. So the laces are false, I put them through properly but they don't do anything.

Progression photos of the bodice from 2008, 2009, 2010

The white gown was insanely expensive as far as fabric, and took a while to get put together juuuust right. The embellishments on the bottom are just painfully boring, but not terribly difficult. Unlike the other stitches this is an inverted backstitch. Meaning I'm backstitching the underside instead of the top to get a thicker fill. I'm still four away from the end of the bottom of the skirt being done.
Cost: ~$60 for fabric, thread, the paper I drew the pattern on and follow
Time: ~30hrs and counting


All sewed up

Ta da!

The back laces up so I can get it on tightly. I boned where the laces are for some extra sturdiness

Obligatory puppy posing with patterns shot


The embroidery begins.


The four completed
Everything put together and pinned -- and the wagging tail of my dog.


That's as far as I've gotten so far. I still either need to shine up the armor I'm going to reuse...or start working on new armor. I also need to make new gloves, and style my wig. I usually just use my hair, so using a wig is going to be odd. I used to have waist-length blonde hair but I hacked it all off in October 2009 and just recently dyed it brown...so I have to wig it up.

Facebook Page

Masqued Cosplay is on facebook! Updates there are likely to happen more often than here since there I can write a sentence and be done, here I have to put something succinct together.

follow here

Latest work

I've been pretty busy working on costumes lately...feeling guilty for not updating this since I apparently show up Volpin's list of blogs he follows.

Costumes in progress for Dragon*con and what's left to work on (photos to come next with some step-by-steps):

Zelda v3.0 -- Twilight Princess --
4 embroidered skirt embellishments
Remake shoulder armor
Remake tiara
Remake panel clasp
Style wig
Gloves

Sophitia Alexandra -- Soul Calibur IV --
Belt 1 (flat)
Belt 2 (jeweled)
Add back wire to shoulder armor
Bracers
Shinguards
White dress w/fabric paint embellishments


So yes I'm still alive. I've been updating my facebook more than here I think I'll post a link in case anyone wants to add my Facebook page ^^